Hi there,
I havent payed this site much attention in the last couple of months but since there seems to be quite some traffic around here (at least my blogger statistics claims this), I would like to know, if there is interest in continuing this blog. Since taking stuff more serious and as professional as possible lately, I could offer to make this blog a pure environment art related thing, delivering some updates about recent projects and challanges, maybe some tutorials if desired. Pls leave a comment or drop me an e-mail.
If you are interested in what I have been up to since my last post, feel free to visit my newly created portfolio:
http://www.andreasmoritz.de/
You can find my mail there, too.
I look forward to hear from you.

Tuesday, November 12, 2013
Monday, July 22, 2013
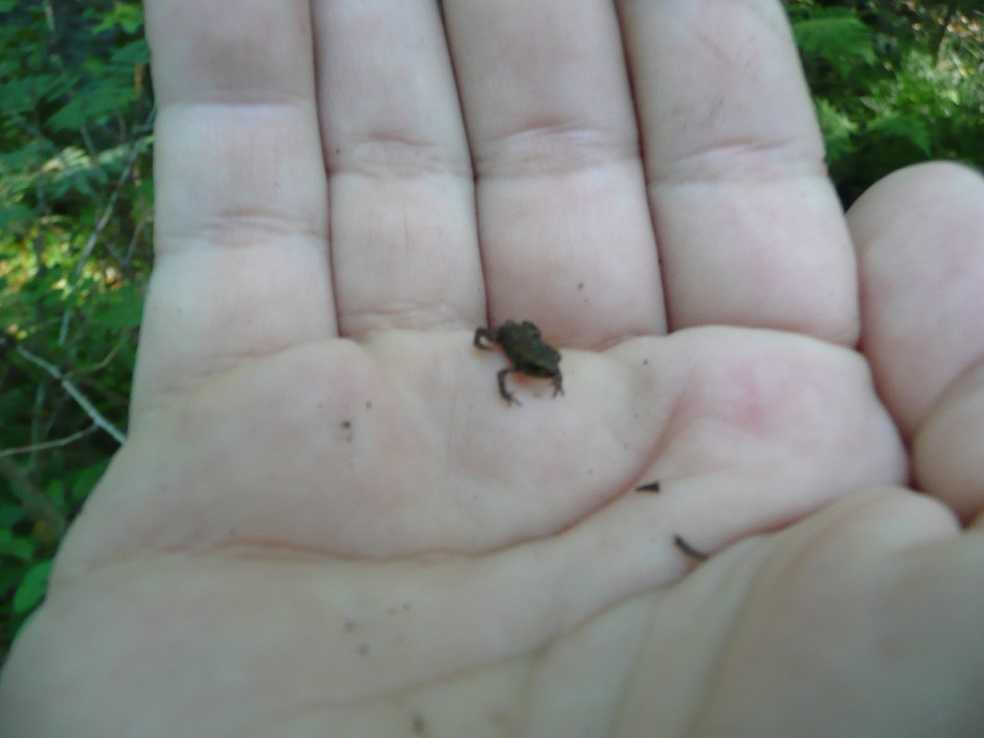
Trip to the local woods
I needed some time to free my mind so I made a trip to the local woods. I came across some places that I visited some time ago. They triggered some memories which I would prefer not to think about but it was still worth it to take the walk. Facing 32 degrees, I came across a little frog wandering around in the middle of nowhere without any water source nearby so I took the little fella and carried him to the next lake. Keep it up, frog buddy.


I spend the last two weeks working on a hotel building which is getting close to be finished. (At least the building). I will post some pictures as soon as possible.

Wednesday, July 10, 2013
Molyjam 2013

I attended to this years Molyjam in Düsseldorf (Germany). 60h without sleep with 48h of game development marks a highlight in my carrer of becoming a professional game developer. To focus yourself on the essentials and be as efficient as possible in a given amount of time was tough but rewarding.
The basic idea of our game was to create an continuously changing environment. We quickly had the architecture of the holocaust memorial in Berlin in mind and mixed it with the idea of an changing maze with completely random generated maze patterns.
This was a little concept sheet that I put together in the concept phase:


You can download the game here
In the middle of the jam, almost all work in terms of 3D was done so I took the chance and helped an other team with their project which turned out to be to most fun of all. You should definitely play it!
You can download the game here
Sunday, June 30, 2013
Shrubberies
I came across the idear to use my construction kit to create some shrubberies. This is the result.


Adding some new stuff
Hi there, unfortunately, I forgot to take some concepts with me on my way home from university which made it impossible to work on our project tasks. So I took the time and made some generic atmosphere props.


The "construction kit" for my modular approach on creating vegetation.

Saturday, June 22, 2013

Friday, June 21, 2013
Working on the station
The concept requiered some more work on the station.
-adding a parking place
-moving the station closer to the road
-Adding some more assets


EDIT: Pls dont mind the rails crossing the road. This will be changed.
-adding a parking place
-moving the station closer to the road
-Adding some more assets


EDIT: Pls dont mind the rails crossing the road. This will be changed.
Creating a street in UDK
Creating a street in UDK was quite tricky. The texture limitation of the landscape system made it impossible to just "paint" it so I went over to create a static mesh for it.
To align the mesh properly to the terrain in maya, I had to export the landscape mesh. With 2mil+ polys, it was way to huge to be handled by maya but after reducing and recalculating the mesh in zBrush, it was ready to work with.

With this base, it was just a matter of align, extrude, align extrude, align, extrude etc.

This is how it looks so far. The next step will be a vertex painting applied to the edges to give it a more grungy look.
Scetchfab
I just stumbled over Scetchfab which provides an excellent place to upload and showcase my work. Makes stuff way more interactive.


Wednesday, June 5, 2013
Update
Again, all the stuff piled up to just one update. So here you go:
-Retexturing of one building Interieur
-Applying emissive to static light assets
-Creating a second storage building
-Switching to highpoly


Most of our normals are done with crazybump which delivers quite a decent result but I started to switch to high poly modelling. Not only because of the normal map but also for using it with the ambient occlusion map for texturing. The reference and extra detail is just a pleasure working with.
This a a recent example of a heater for a kitchen scene.


A little explanation if you are not familiar with "normal maps". The idea of normal maps is to project the high detail of high poly models onto a game ready low poly asset. The normal map will be applied onto the model just like the diffuse texture which contains the colour information with an extra dynamic shadow of the normal map. If you cast a light over the object, the normal map will react to it and shadow the modeled details correctly, faking a more detailed surface.
Monday, May 27, 2013
Update
I had quite a busy weekend so there is not much that can be show today. I still want to make a little update.
The ticket booth will get a little storage building right next to it.

The new walls are now fully textured and ready to receive some furniture.


The ticket booth will get a little storage building right next to it.

The new walls are now fully textured and ready to receive some furniture.

Together with some students, I went to see the WCS Season 1 for starcraft 2 at a barcraft in cologne. Even with not knowing anything about the game mechanics, my friends got quite fast into it and we had a great time.


Thursday, May 23, 2013
Ticket booth
This is how the ticket booth looks right now from the inside but after discussing the design with my conceptionist, the whole thing will be rearranged. The storage will be moved into a separate building and a kitchen/toilet will take its place.


Sunday, May 19, 2013
Ticket booth
Recently, I try to get more used in creating buildings and tiling textures on them. This one is a work in progress. I will post some pictures from the inside when the whole thing is done.


Crysis 3 DLC Tropical Island Resort
Now, that some time passed by, I guess it is no problem to post the pictures here. A friend of mine asked me, if I could help him with setting up a little beach scene with the cryengine to take some pictures for this years crysis 3 april fools. He added the logo and the characters later on.
You can find the german news here.


You can find the german news here.


Thursday, May 9, 2013
Map Update
Sorry for not posting anything for quite some time. I am a bit ill at the moment and cant motivate myself to post something everyday. So take this as some kind of a major update. The map that I currently work on took some steps forward.


This is my first approach on creating modular trees for the map. It took some time to figure out how to construct a believable tree with a maximum tri count of 2000 but I am quite satisfied with the result. If you wonder, what the white cage around the trunk is good for, this will be used later on for the collision. The red/black colour will not appear in the game, this is just a vertex paint to define how the branches are affected by the wind. (red: 1, black: 0)

Sunday, April 28, 2013


Wednesday, April 24, 2013
Finished grass
Finally, after one day of hard work, the grass is finally done. I stumbled over a a nice tutorial series which helped me to achieve a new level of foliage creation. So I walked out in the morning, took some photos and put everything together trough the day. This is how it looks right now:

I will probably tweak the specular and the wind but for now it does the job quite well.

I will probably tweak the specular and the wind but for now it does the job quite well.
Subscribe to:
Comments (Atom)